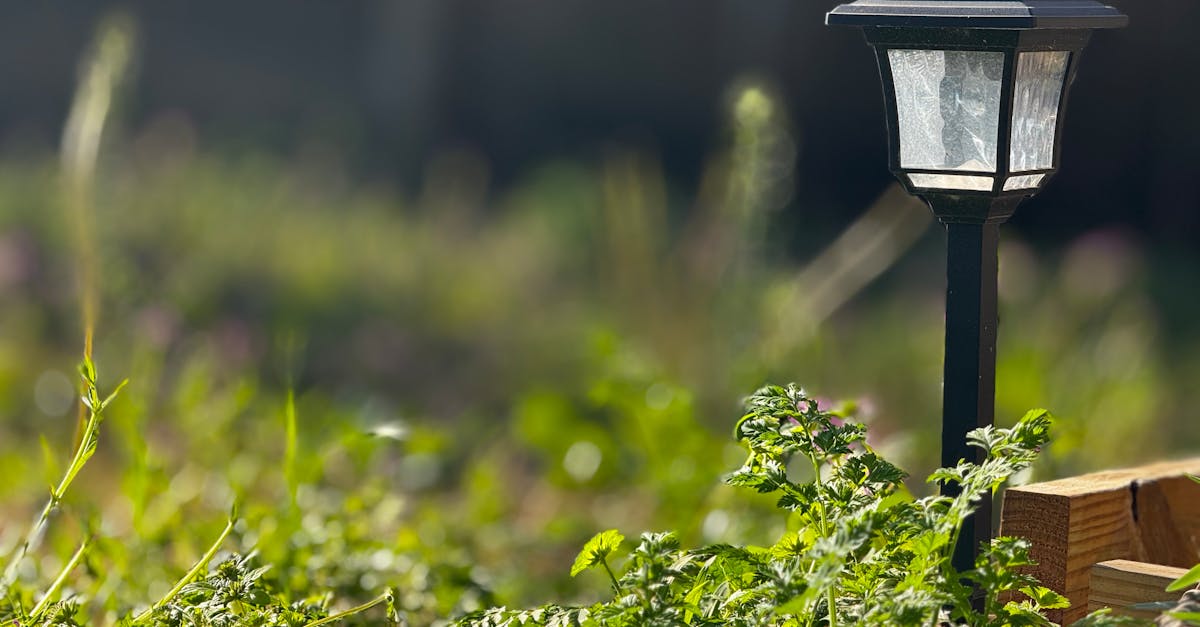
Every spring, I see countless eager homeowners stringing up those cheap, plastic solar path lights. They look so inviting in the store, promising instant ambiance and zero electricity bills. I remember the same excitement myself years ago. I envisioned a beautifully lit pathway, enhancing my garden’s evening appeal without the hassle of wiring. The reality? A frustrating cycle of dim, flickering lights, constant replacements, and ultimately, a path that was often darker than before. The mistake I see most often, and one I made myself, is assuming all solar lights are created equal and that a low upfront cost equates to actual savings.
What changed everything for me was realizing that the true cost of those bargain bin solar lights isn’t just the few dollars you spend. It’s the hidden costs of their inefficiency, short lifespan, poor performance, and environmental impact that nobody talks about. If you’re tired of replacing your solar path lights every season or dealing with a perpetually dim pathway, you’re not alone. I’ve learned through trial and error, and a fair bit of research, that investing a little more upfront in the right technology and installation can save you significant money, frustration, and waste in the long run. My journey led me to discover that for genuinely lasting and effective outdoor lighting, a different approach is needed entirely.
Key Takeaways
- Cheap DIY solar path lights have significant hidden costs beyond their initial purchase price, leading to frequent replacements and poor performance.
- The critical flaw in most budget solar lights is the low-quality battery and inefficient solar panel, limiting charge and lifespan.
- For lasting, bright, and reliable solar path lighting, prioritize lights with replaceable, high-capacity NiMH batteries and larger, more efficient monocrystalline solar panels.
- Proper installation, including optimal sun exposure and regular cleaning, is crucial for maximizing the performance and longevity of any solar lighting system.
The True Drain: Inefficient Batteries and Tiny Panels
The allure of an ‘instant upgrade’ often blinds us to the fundamental mechanics of solar lighting. The biggest hidden cost, in my experience, lies within the battery and solar panel quality – or lack thereof. Most cheap DIY solar path lights come with incredibly small, low-capacity NiCd (Nickel Cadmium) batteries and tiny, inefficient amorphous silicon solar panels. This combination is a recipe for disaster.
Think about it: the solar panel’s job is to convert sunlight into electricity, which then charges the battery. The battery’s job is to store that energy and power the light throughout the night. If the panel is too small or inefficient, it can’t capture enough energy, especially on cloudy days or in less-than-perfect sun exposure. If the battery is low capacity, it can only store a fraction of the energy needed for a full night’s illumination. NiCd batteries, in particular, suffer from a ‘memory effect,’ where they lose capacity if not fully discharged before recharging, leading to progressively shorter run times.
I vividly remember buying a pack of 10 solar lights for $20. They looked great for about two weeks. Then, one by one, they started fading. By month three, half were completely dead. The issue wasn’t the LED bulb; it was the battery. It simply couldn’t hold a charge anymore. Swapping them out for better-quality, rechargeable NiMH (Nickel Metal Hydride) batteries, which are less prone to the memory effect and generally have higher capacities, immediately extended the lifespan and brightness of the remaining lights. This led me to a crucial realization: if you can’t easily replace the battery with a common, good-quality option, that light is destined for the landfill much sooner than you’d like. Look for lights that specify NiMH batteries, ideally with a capacity of at least 800-1000mAh for decent run time, and ensure the battery compartment is easily accessible for future replacement.
The Flicker Factor: Inadequate Light Sensors and Build Quality
Beyond the power source, another hidden cost of cheap solar lights is their overall build quality and sensor reliability. Have you ever noticed how some solar lights turn on at dusk, but others only flick on when it’s pitch black, or worse, stay on all day draining their precious charge? This is often due to low-quality light sensors (photocells) that aren’t calibrated correctly. A poor sensor means inefficient operation, wasting battery life or failing to provide light when needed.
Then there’s the housing itself. Those beautiful, clear plastic domes and stakes? They’re often made from brittle, UV-sensitive plastic that yellows, cracks, and becomes opaque within a season or two. This not only makes the light look terrible but also reduces light output and solar panel efficiency. Water ingress is another common failure point. Seals around the solar panel and battery compartment are often flimsy, allowing rain and humidity to seep in, corroding electronics and killing the light prematurely.
My first set of decorative solar lanterns fell victim to this. After a single summer, the plastic was cloudy, and water had gotten into half of them, shorting out the circuit boards. It wasn’t just a loss of $30; it was the disappointment of a promised feature failing miserably. For true longevity, look for lights with durable materials like glass lenses (or high-quality, UV-resistant polycarbonate), metal housings, and, most importantly, a robust IP (Ingress Protection) rating, ideally IP65 or higher, indicating strong resistance to dust and water jets. This small detail can be the difference between a one-season wonder and a multi-year investment.
The Aesthetics and Practicality Dilemma: Dimness and Placement Limitations
Let’s be honest, one of the main reasons we buy path lights is for their aesthetic appeal and functional illumination. However, the hidden cost here is the lack of effective light output and the limitations on where they can be placed. Those tiny LEDs in cheap solar lights often provide minimal lumens, resulting in a dim, patchy illumination that barely lights the path, let alone highlights any garden features. This defeats the purpose entirely. You end up with a few glowing dots rather than a welcoming, safely lit walkway.
Furthermore, solar lights require direct sunlight to charge effectively. This means you’re limited to placing them in areas that receive at least 6-8 hours of direct sun daily. If your desired pathway is under trees, along a shaded wall, or on the north side of your house, traditional all-in-one solar path lights simply won’t work. This forces a compromise between desired placement and functional lighting, often leading to a subpar aesthetic or reliance on other, more costly solutions.
I once tried to light a shaded section of my backyard with solar lights, hoping for a magical solution. They would glow faintly for an hour or two after sunset, then die. The money spent was wasted, and the area remained dark. This experience taught me the value of split-panel solar lights or, for truly stubborn areas, considering a low-voltage wired system. Split-panel lights have a separate solar panel that can be placed in full sun, while the light fixture itself can be installed in a shaded area, offering far greater flexibility and reliable illumination. When evaluating solar lights, consider not just the total lumen output (though this is often vaguely stated for cheap products) but also the type of solar panel (monocrystalline is generally more efficient than amorphous) and the battery capacity for sustained brightness.
The Environmental Cost: Perpetual Replacements and Landfill Waste
While the initial thought behind solar lights is often ‘eco-friendly,’ the reality of cheap models can be anything but. The constant cycle of purchasing, using for a short period, and then disposing of these low-quality lights creates a significant environmental burden. Each light contains a battery (often NiCd or NiMH), a small circuit board, LEDs, and plastic housing. When they fail, which they inevitably do, they contribute to electronic waste (e-waste) that often ends up in landfills, leaching harmful chemicals into the soil and water.
I used to feel a pang of guilt every time I tossed a dead solar light into the trash. The idea was to be sustainable, but my actions were contributing to waste. This hidden environmental cost is a crucial factor often overlooked in the initial low-price decision. A truly sustainable solar lighting solution should be durable, repairable, and use long-lasting, recyclable components. For me, this meant a conscious shift in purchasing habits.
Opting for higher-quality solar lights, even if they cost a bit more, means fewer replacements over time, reducing waste. Look for brands that offer replaceable parts (especially batteries and even LED modules), or at least those with robust construction and a proven track record for longevity. Prioritize lights with easily accessible, standard-sized rechargeable batteries like AA or AAA NiMH, which are readily available and can be properly recycled when they eventually wear out. A slightly higher upfront investment in quality is a long-term investment in both your wallet and the planet.
Installation and Maintenance: The Overlooked Essentials
Even the best solar path lights won’t perform optimally if they’re not installed and maintained correctly. This is another area where hidden costs creep in, not in dollars, but in wasted effort and suboptimal performance. Many assume you just stick them in the ground and forget about them. That’s a mistake.
Firstly, sun exposure is paramount. As I mentioned, 6-8 hours of direct, unobstructed sunlight is the golden rule for most solar lights to fully charge. Placing them in partial shade, even for a few hours of the day, will drastically reduce their nightly run time and brightness. This means strategically mapping out your path and choosing locations based on sun patterns, not just aesthetic desire. Sometimes, this means compromising on exact placement or opting for those split-panel designs.
Secondly, regular cleaning is crucial. Dust, dirt, pollen, and even bird droppings can accumulate on the solar panel, significantly hindering its ability to absorb sunlight. A quick wipe down with a damp cloth every few weeks, or monthly, can make a noticeable difference in performance. This is particularly important if you live in a dusty area or near trees that shed leaves and pollen.
Lastly, battery health needs attention. Even good quality NiMH batteries will eventually degrade. Most will last 1-3 years before their capacity significantly diminishes. Understanding this and knowing how to easily replace the batteries extends the life of the entire fixture, making it a much more sustainable and cost-effective option. I make it a habit to check and clean my solar lights every spring, before the peak season, ensuring they’re ready to perform throughout the summer and beyond. This proactive maintenance minimizes hidden costs and maximizes enjoyment.
The Sustainable Solution: Quality Over Quantity
My journey through the frustrating world of cheap DIY solar path lights has taught me a fundamental lesson: sustainability and cost-effectiveness often go hand-in-hand, but not always in the way you’d expect. The immediate gratification of a low price tag often masks the long-term pain of poor performance, constant replacements, and accumulating waste. For truly lasting ambiance and peace of mind, a shift in perspective is required.
Instead of buying multiple packs of the cheapest lights, invest in fewer, higher-quality fixtures. Look for solid construction, efficient monocrystalline solar panels, and most importantly, replaceable, high-capacity NiMH batteries. Consider split-panel designs for shaded areas. Don’t underestimate the power of proper placement and consistent, simple maintenance. These aren’t just ‘tips’; they are the crucial steps that transform fleeting, frustrating lights into a reliable, beautiful, and truly sustainable outdoor lighting solution. You’ll spend less time replacing, less money rebuying, and more time enjoying your beautifully lit pathway for years to come.
Frequently Asked Questions
Q1: Why do my solar path lights only work for a few hours, even after a sunny day?
A1: This is almost always due to an inefficient solar panel and/or a low-capacity or degraded battery. Cheap lights often can’t fully charge the battery, or the battery itself can’t hold enough charge to last through the night. Ensure the solar panel is clean and receives at least 6-8 hours of direct, unobstructed sunlight. Consider replacing the battery with a higher-capacity NiMH rechargeable battery (if possible).
Q2: What’s the difference between NiCd and NiMH batteries for solar lights?
A2: NiMH (Nickel Metal Hydride) batteries are generally superior for solar lights. They have a higher energy density, meaning they can store more power in the same size, and are less prone to the ‘memory effect’ that causes NiCd (Nickel Cadmium) batteries to lose capacity over time. NiMH batteries also contain less toxic materials, making them a more eco-friendly choice.
Q3: How often should I clean my solar panels on the path lights?
A3: It depends on your environment, but a good rule of thumb is to wipe them down with a damp cloth every 2-4 weeks, or monthly. If you live in a dusty area, near trees that shed pollen, or experience frequent rain, more frequent cleaning may be beneficial to ensure maximum solar absorption.
Q4: My solar lights are turning yellow and cracking. Can I fix them?
A4: Unfortunately, yellowing and cracking plastic lenses or housings are usually a sign of low-quality, UV-sensitive materials degrading. While you might try plastic restorers for slight yellowing, significant damage is often irreparable. This is a key hidden cost of cheap lights; opting for lights with glass lenses or high-quality, UV-resistant polycarbonate from the start is a better long-term solution.
Q5: Can I use regular batteries in my solar path lights?
A5: No, you must use rechargeable batteries. Solar lights are designed to continuously charge the battery during the day. Using non-rechargeable (alkaline) batteries will lead to them quickly dying, and attempting to recharge them can be dangerous, potentially causing leaks or explosions. Always use the specified type of rechargeable battery, typically NiMH or sometimes LiFePO4 (Lithium Iron Phosphate) for higher-end models.