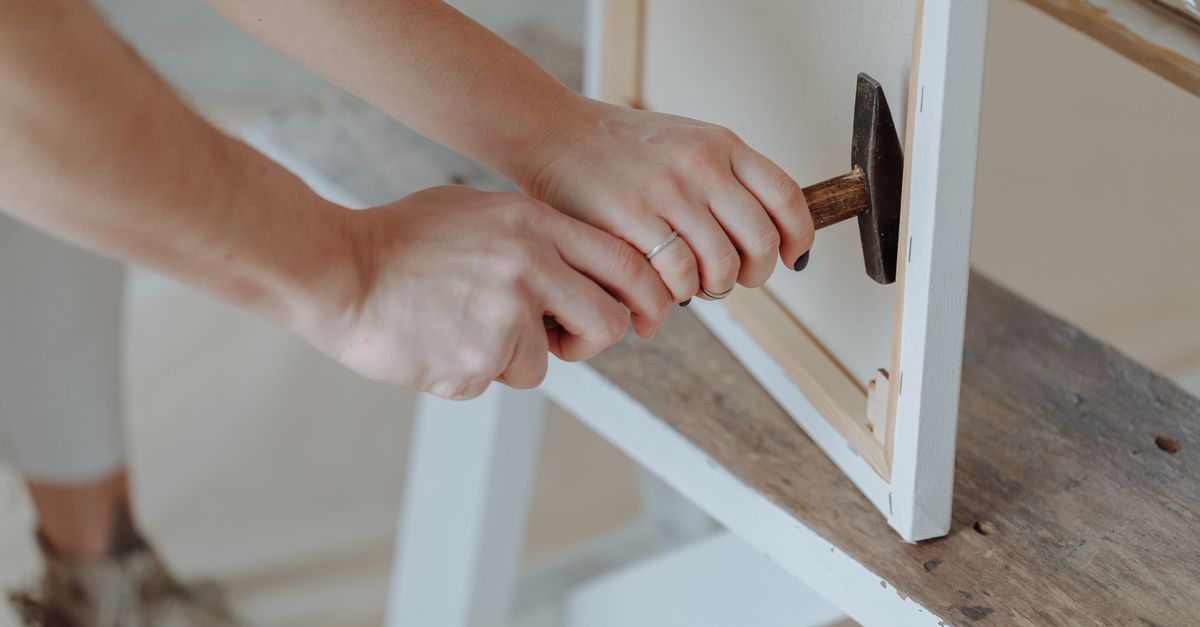
You spend hours meticulously sanding, painting, or staining that old dresser or building a new bookshelf from scratch. You envision a piece that looks like it came from a high-end boutique, something you’ll proudly show off. But then, it’s done. And… it just looks a bit off. The paint is streaky, the joints aren’t quite right, or the finish feels cheap and prone to chipping. It’s that tell-tale ‘DIY’ look that screams homemade instead of handmade. I’ve been there countless times, staring at a project that, despite all my effort, didn’t quite achieve the polished, professional result I craved. For years, I struggled with uneven stains, peeling paint, and wobbly joints, convinced that professional furniture makers had some secret magic I just hadn’t unlocked. The truth is, there’s no magic, just a series of overlooked steps and subtle techniques that elevate a project from amateurish to artful. Through countless trial-and-error projects, a few spectacular failures, and learning from seasoned craftspeople, I finally cracked the code. What changed everything for me wasn’t buying fancier tools, but rather understanding the critical importance of prep work, the nuances of application, and the often-skipped final touches that truly make a piece sing.
Key Takeaways
- Proper surface preparation, often underestimated, is the single most critical step for a professional finish.
- Investing in quality materials and understanding their proper application techniques prevents common amateur mistakes like streaks and uneven coverage.
- Strong, invisible joinery requires precision, appropriate fasteners, and sometimes hidden reinforcement.
- Sealing and protecting your finished piece with the right topcoat significantly enhances durability and aesthetic appeal.
Underestimating Surface Preparation: The Foundation of Failure
The biggest mistake I see most often in DIY furniture projects isn’t poor painting technique or bad joinery; it’s a profound underestimation of surface preparation. Many people rush past this stage, eager to get to the ‘fun’ part of painting or staining. But a flawless finish is built on a perfectly prepared surface. Think of it like building a house on a shaky foundation – no matter how beautiful the house, it won’t last or look right. In my early days, I’d give an old dresser a quick once-over with some sandpaper, wipe it down, and dive straight into painting. The result? Every tiny imperfection – dings, old drips, uneven previous finishes – would magically reappear, magnified by the new coat of paint. The paint wouldn’t adhere properly in some areas, leading to chipping within weeks.
What actually works is a multi-step, patient approach to surface prep. For old furniture, this means thorough cleaning with a degreaser to remove years of grime and oils. Then, meticulous repair work: fill all dents, gouges, and holes with wood filler, letting it dry completely and sanding it flush. Next, comes the graduated sanding process. Start with a coarser grit (e.g., 80-100 grit) to remove old finishes or deep scratches, then progressively move to finer grits (150, 220, and even 320 for ultra-smooth results). Each step removes the scratches from the previous grit. The mistake I see is stopping at 150 or 180. For a truly smooth, professional finish, especially with paint, you need to go finer. The final step, often skipped, is proper dust removal. Don’t just wipe with a dry cloth; use a tack cloth or a damp (not wet) cloth to pick up every last speck of dust, which can create bumps and imperfections in your finish. In my experience, spending an extra hour on prep saves you three hours of fixing issues later.
Skimping on Quality Materials & Misunderstanding Application
Another common pitfall is trying to save a few dollars on paint, stain, or brushes, or simply not understanding how these materials behave. There’s a prevailing myth that any cheap brush and paint will do for a DIY project. The reality is that professional results almost always require professional-grade materials and a nuanced understanding of how to apply them. I once painted an entire dining table with cheap, latex house paint using a basic bristly brush. The finish was uneven, streaky, and showed every brush mark. It chipped when I looked at it funny.
What actually works is a thoughtful selection of materials tailored to your project. For paint, invest in a high-quality furniture paint or cabinet enamel. These paints are formulated for durability, self-leveling properties (which minimize brush strokes), and a harder finish. Use quality brushes (like an angled synthetic brush for smooth paint or natural bristles for oil-based stains) or a fine-finish roller (mohair or foam) for large, flat surfaces. For stains, understand that different wood types absorb stain differently; always test on an inconspicuous area first. The application technique is equally crucial. For paint, apply multiple thin coats rather than one thick one. This prevents drips, ensures even coverage, and allows for better adhesion between layers. Sand lightly with a very fine grit (400-600) between coats to de-nib and achieve a silky smooth surface. For stain, wipe on evenly, allow it to penetrate for the recommended time, and then wipe off all excess before it dries tacky. The mistake of letting stain pool or dry without wiping leads to blotchiness and a sticky, uneven finish. This patience and attention to detail during application are non-negotiable for a professional look.
Weak or Visible Joinery: The Structural Weakness
Nothing screams ‘DIY’ more than wobbly furniture or joints that are visibly gappy, uneven, or held together with obvious, poorly placed screws. Professional furniture is built to last, with strong, often invisible, joinery that contributes to both its durability and its refined appearance. Early on, my bookshelves would sway slightly, and I’d often use visible pocket holes or butt joints that just didn’t hold up over time or look clean. I learned the hard way that structural integrity and aesthetic neatness go hand-in-hand.
What actually works involves selecting the right joinery for the job and executing it with precision. For strong, invisible joints, consider techniques like dowel joints, mortise and tenon, or even well-executed biscuit joints for flat panels. For simpler projects, pocket holes can be very effective, but the trick is to place them strategically on the underside or back of the piece where they won’t be seen, and to use the correct length and type of screw. Wood glue is your best friend; it’s often stronger than the wood itself. Apply it generously but neatly to all mating surfaces before clamping. And speaking of clamping, it’s absolutely critical. Use enough clamps to apply even pressure across the entire joint, and allow the glue to cure for the full recommended time, often 24 hours, before removing clamps or putting stress on the joint. Skipping clamping or rushing the drying time guarantees weak, gappy joints. For larger assemblies, consider adding corner blocks or hidden braces internally for extra reinforcement. These small structural elements are what make a piece feel solid and professional, rather than flimsy and temporary.
Neglecting the Final Protective Coat: Short-Sighted Finishes
Many DIYers invest all their effort into painting or staining, only to fall short at the very last step: applying a proper protective topcoat. This final layer is absolutely essential for durability, ease of cleaning, and often, the overall aesthetic sheen. Without it, your beautifully finished piece is vulnerable to scratches, water rings, and general wear and tear, quickly diminishing its professional appearance. I used to think a few coats of paint or stain were enough, only to watch my freshly restored coffee table get ruined by a spilled drink a month later.
What actually works is choosing and applying the right topcoat for the specific use of your furniture. For painted pieces, a water-based polyurethane or polycrylic is excellent for protection without yellowing. Apply multiple thin coats, just like paint, with light sanding (600+ grit) in between to remove any dust nibs and create an ultra-smooth feel. For stained or raw wood, options range from oil-based polyurethane (very durable, adds a warm amber tone) to wipe-on poly (easy to apply, builds thin layers) or even a natural oil finish (penetrates the wood, offers a more natural feel, but less surface protection). The key is to match the topcoat to the desired look and level of durability. A dining table, for instance, requires a much more robust finish than a decorative bedside cabinet. Allow each coat to dry completely according to manufacturer instructions, and for maximum protection, give the final coat a full cure time (which can be several days to a few weeks) before heavy use. This patience ensures the finish reaches its maximum hardness and resilience, giving your furniture that lasting, professional shine and protection.
Ignoring Hardware and Details: The Unfinished Touch
Even with a perfect finish and sturdy construction, amateur DIY furniture often falls flat due to neglected details, especially hardware. Hardware isn’t just functional; it’s jewelry for your furniture. Cheap, mismatched, or poorly installed knobs, pulls, or hinges can undermine an otherwise excellent project. I’ve seen beautifully painted dressers ruined by flimsy plastic knobs or unevenly spaced pulls, instantly giving away their homemade origin. The mistake is viewing hardware as an afterthought rather than an integral part of the design.
What actually works is to consider your hardware early in the design process. Choose pieces that complement the style and scale of your furniture. Invest in good quality hardware – solid metal pulls feel significantly better and look more refined than hollow or plastic ones. Crucially, install hardware with precision. Use a template or carefully measure and mark drill points to ensure everything is perfectly aligned and evenly spaced. For drawer pulls, a simple template jig can be a game-changer. Ensure screws are tightened properly so hinges operate smoothly and pulls don’t wobble. Furthermore, pay attention to other small details: ensure any exposed screw heads are countersunk and filled (if they’re not meant to be visible), gently ease sharp edges with fine sandpaper to create a softer, more finished feel, and add felt pads to the bottom of legs to protect floors and allow easy movement. These small, often overlooked details are the final touches that elevate a DIY piece from looking ‘good enough’ to truly professional and thoughtfully crafted.
Neglecting Proper Drying and Curing Times
This is perhaps the most common and damaging mistake, born out of impatience. You’ve prepped, painted, and polished, and now you want to enjoy your new piece! But rushing the drying and curing process of paint, stain, or topcoats is a guaranteed way to end up with a sticky, soft, or easily damaged finish that feels anything but professional. I’ve prematurely reassembled drawers or stacked finished pieces, only to find them sticking together, leaving permanent marks, or experiencing premature chipping. It’s incredibly frustrating to see all your hard work compromised by rushing the final stage.
What actually works is strict adherence to manufacturer’s recommendations for drying and curing times. Drying time is when the surface feels dry to the touch, and you can apply another coat. Curing time, however, is when the finish has chemically hardened to its maximum durability, which can take days or even weeks depending on the product and environmental conditions (temperature and humidity play a huge role). The mistake is conflating these two. For example, a water-based polycrylic might be dry to the touch in an hour, but it could take 2-3 weeks to fully cure. During this curing period, the finish is still soft and susceptible to dents, scratches, and chemical damage. To ensure a professional, resilient finish, create a dedicated, dust-free drying space and patiently allow each coat to dry and the final coat to cure properly before heavy use. For larger items, this might mean clearing out a spare room or setting up a tarped-off area in your garage. This patience is the ultimate test of a DIYer, but it’s the difference between a temporary facelift and a piece of furniture that genuinely stands the test of time.
Frequently Asked Questions
Q: How can I tell if a piece of furniture is properly prepped for painting or staining?
A: A properly prepped surface should feel incredibly smooth to the touch, almost like glass. Run your hand over it; you shouldn’t feel any bumps, rough spots, or scratches. For paint, you should have a uniform, dull surface (if you’ve sanded away the old finish or primed). For stain, the raw wood should feel consistent. If you see any shiny spots or feel texture variations, you need more sanding or repair work.
Q: What’s the best way to avoid brush strokes when painting furniture?
A: To avoid brush strokes, use high-quality self-leveling furniture paint or cabinet enamel, and apply multiple thin coats with a good quality synthetic angled brush or a dense foam roller for flat surfaces. Sand lightly with 400-600 grit sandpaper between coats to remove any dust nibs. You can also add a paint conditioner like Floetrol to water-based paints to extend drying time and improve leveling.
Q: My stained furniture looks blotchy. What did I do wrong and how can I fix it?
A: Blotchy stain is usually caused by uneven wood absorption or not wiping off excess stain quickly enough. To fix it, you might need to sand down the affected areas and reapply the stain, ensuring you wipe off all excess within minutes of application. To prevent it, use a wood conditioner on blotch-prone woods (like pine or maple) before staining. This helps the wood absorb the stain more evenly.
Q: How long should I really wait for paint or topcoat to cure before using the furniture?
A: While paint might be dry to the touch in hours, curing can take anywhere from 7 to 30 days, sometimes even longer in humid conditions. Check the manufacturer’s specific instructions, but as a general rule, avoid heavy use, placing heavy objects, or harsh cleaning for at least 1-2 weeks. Patience during the curing phase is critical for the finish’s long-term durability and hardness.
Q: My furniture joints are a bit gappy. Is there a way to hide them after the fact?
A: For small gaps, you can try using a colored wood filler that matches your finish or a paintable caulk if the piece is painted. For stained pieces, you can mix sawdust from the same wood with wood glue to create a custom filler that takes stain better. However, these are cosmetic fixes. For truly professional results, ensure tight-fitting joints and proper clamping during assembly, as it’s much harder to hide significant gaps after the fact.
Conclusion
Transforming a piece of furniture from a ‘DIY project’ to a ‘professionally crafted item’ isn’t about innate talent; it’s about disciplined execution of often-overlooked steps. The biggest lessons I’ve learned boil down to patience and precision: meticulous surface preparation, investing in quality materials with correct application, strong and hidden joinery, robust protective topcoats, and thoughtful hardware selection. By focusing on these often-skipped details, you move beyond mere refurbishment to creating pieces that are not only beautiful but durable, and which you’ll be genuinely proud to display. So next time you embark on a furniture project, resist the urge to rush. Embrace the process, and watch your work elevate from amateurish to artful. Your future self (and your beautifully finished furniture) will thank you.