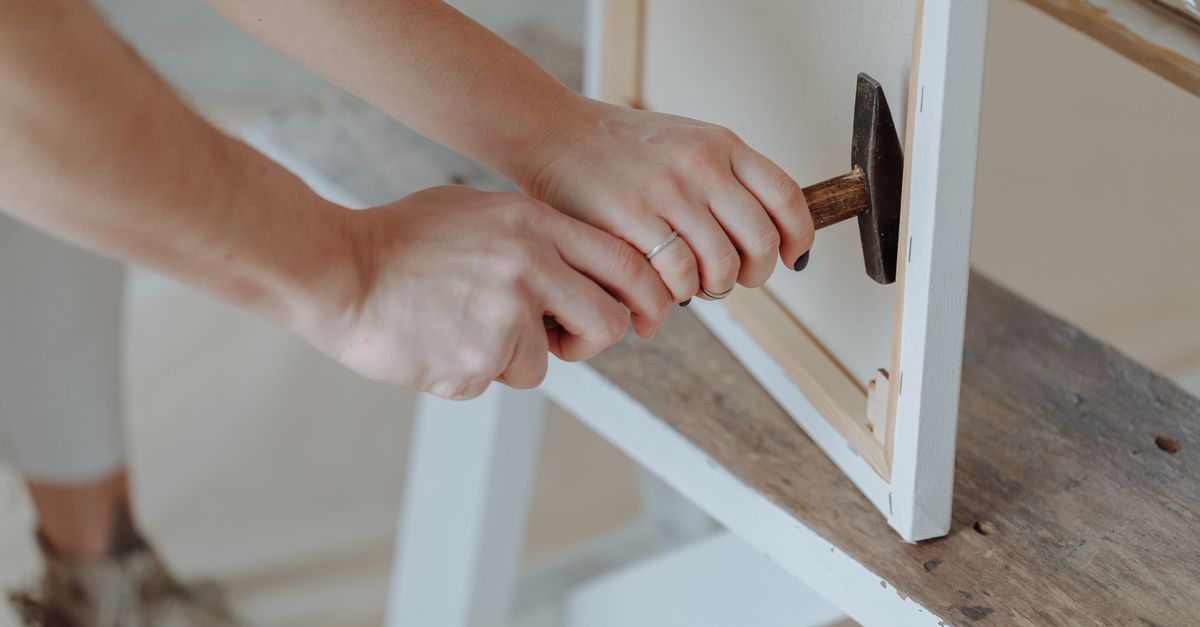
Have you ever spent hours carefully cutting, joining, and finishing a DIY picture frame, only to step back and feel…underwhelmed? It’s a common frustration. You envision a bespoke, gallery-quality piece, but the reality often falls short. Maybe the corners don’t quite meet, the finish looks streaky, or the whole thing just feels a bit flimsy. I’ve been there more times than I care to admit, especially in my early days of trying to save a buck by framing my own artwork and photos.
For years, I meticulously followed online tutorials, invested in what I thought were the right tools, and still ended up with frames that screamed ‘DIY project’ rather than ‘art gallery.’ The corners were always the biggest giveaway—tiny gaps, slight overlaps, or that tell-tale slop that no amount of wood filler could truly hide. It wasn’t until I started working alongside a professional framer for a few months that the crucial, often overlooked details became clear. It’s not about having the most expensive equipment; it’s about precision, understanding the materials, and executing specific techniques that make all the difference.
My experience taught me that the perceived simplicity of a picture frame hides a surprising amount of technical nuance. The mistake I see most often, and one I certainly made, is underestimating the importance of setup and calibration. Many DIYers jump straight to cutting, assuming their saw is perfectly square or that their measuring tape is all they need. What changed everything for me was realizing that every step, from selecting the wood to the final sanding, has a ‘professional’ way of doing it that systematically eliminates the common flaws.
Key Takeaways
- Achieve perfect miter joints by calibrating your miter saw precisely and using sacrificial fences.
- Prevent finish flaws by properly preparing the wood and understanding different wood types’ absorption.
- Ensure structural integrity by choosing appropriate joinery for frame size and wood type, not just basic glue.
- Select the right hanging hardware to complement the frame’s weight and intended display, avoiding common failures.
The Uncalibrated Saw: Why Your Miter Joints Always Have Gaps
The most common culprit behind amateurish picture frames is almost always the miter joint. Those 45-degree cuts that are supposed to meet perfectly at a 90-degree corner often leave a visible gap, no matter how carefully you try to align them. The core issue, in my experience, is rarely your technique; it’s the calibration of your miter saw. Most saws, even expensive ones, aren’t perfectly calibrated out of the box, and they can drift over time. Relying on the detents alone is a recipe for frustration.
When I first started, I assumed if the saw clicked into 45 degrees, it was 45 degrees. Wrong. The professional framer showed me a simple but critical calibration method. First, you need a reliable, high-quality machinist’s square—not a cheap plastic one. Cut two pieces of scrap wood at what you think is 45 degrees. Join them to form a 90-degree corner. Place the square inside the corner. If there’s a gap, your saw isn’t true. Adjust the saw’s angle incrementally, making small test cuts and checking until the square fits perfectly. This might mean your saw reads 45.1 or 44.9 degrees, but that small adjustment makes all the difference.
Beyond calibration, the pro tip that truly elevated my miter cuts was the use of a sacrificial fence. This is a piece of wood clamped to your miter saw’s fence. It prevents tear-out on the backside of your molding and also provides a zero-clearance cutting surface. As the blade passes through the sacrificial fence, it creates a kerf that perfectly matches your blade’s path. This small trick dramatically reduces splintering and ensures a cleaner, more precise edge for joining. I also learned to oversize the pieces slightly and then trim to final length. This allows for minor adjustments if your initial cut isn’t absolutely perfect, preventing you from having to recut an entire length of expensive molding due to a hairline error.
The Neglected Wood Prep: Why Your Finish Always Looks Streaky or Uneven
You’ve done the hard work of joining the frame, and now it’s time for the finish. You apply paint or stain, and suddenly, it’s patchy, streaky, or some areas absorb more than others, creating an uneven look. This isn’t usually a problem with your chosen paint or stain; it’s almost always a failure in wood preparation. I used to think a quick sand with 120-grit was sufficient. It’s not.
Professional finishing starts long before the brush touches the wood. The first crucial step is proper sanding, and it’s more detailed than most DIYers realize. You need to progressively sand through grits: start with 80 or 100 for rough surfaces, then move to 120, then 150, and finally 180 or 220 for a truly smooth finish. Each grit removes the scratches from the previous one. Never skip grits, as the coarser scratches will show through your finish, especially under stain. After sanding, the wood needs to be immaculately clean. Use a tack cloth or a vacuum with a brush attachment to remove every speck of dust. Dust particles trapped under the finish will create bumps and an uneven texture.
For staining, the biggest game-changer for me was understanding wood conditioners. Different woods absorb stain at different rates; softwoods like pine are notorious for blotchiness. A wood conditioner applied before staining helps the wood absorb the stain more evenly, preventing that tell-tale splotchy look. It’s an extra step that takes about 15-30 minutes, but it’s absolutely essential for a professional-looking stain finish. For painting, always use a good quality primer. Primer not only helps with adhesion but also creates a uniform surface for the paint, ensuring consistent color and preventing wood tannins from bleeding through.
The Weak Link: Why Your Frame Falls Apart or Warps Over Time
It’s disheartening to see a beautifully finished frame start to separate at the corners or warp after a few months. This structural failure usually comes down to two things: inadequate joinery and insufficient consideration for wood movement. Many DIYers rely solely on wood glue and perhaps a few brad nails. While fine for very small, lightweight frames, this isn’t enough for anything substantial.
For most picture frames, especially those over 12x16 inches, I now use a combination of strong wood glue (Titebond III is my go-to for its strength and open time) and mechanical fasteners or more robust joinery. V-nails (or wedges) inserted with a framing nailer are the gold standard for miter joints. They draw the joint tight and provide significant strength. If you don’t have a V-nailer, consider using biscuits or dowels for added shear strength, especially on larger frames. These require specialized tools, but for serious DIY framers, they’re worthwhile investments. Even without those, strategically placed small finishing nails, pre-drilled to prevent splitting, can augment glue strength significantly.
Beyond the joints, consider the wood itself. Wood naturally expands and contracts with changes in humidity. If your frame’s construction doesn’t account for this, it can lead to warping or cracking. While less of an issue with smaller frames, for larger, solid wood frames, choose stable wood species like maple or cherry over less stable ones like pine. If using plywood for backing, ensure it’s high-quality Baltic birch, which is more dimensionally stable. Most importantly, allow your wood to acclimate to your shop’s environment for several days before cutting. This helps prevent warping after assembly due to sudden environmental changes.
The Overlooked Details: Why Your Hardware Fails and Your Frame Looks Slanted
You’ve built a beautiful frame, applied a flawless finish, and now it’s time to hang it. You grab a standard picture hook, loop some wire, and hang it up, only to find it sits crooked on the wall, or worse, falls down. The details of hanging hardware are often an afterthought, but they are critical for both the frame’s presentation and its longevity.
The most common mistake is using under-spec’d hanging hardware. That thin picture wire and tiny screw eye hooks might be fine for an 8x10 inch photo, but they’re completely inadequate for a heavier, larger frame with glass and matting. Always match your hardware to the weight of your frame. For medium to heavy frames, D-rings or strap hangers, screwed directly into the frame’s side rails, are much more secure than screw eyes. Use two D-rings, one on each side, about a third of the way down from the top. This allows the frame to hang flat and level against the wall, preventing the common ‘leaning forward’ or ‘tilted’ look that single-wire setups often create.
For very heavy frames, professional framers often use French cleat systems. These provide exceptional support and distribute the weight evenly across a large section of the wall. While more involved to install, they offer unparalleled stability and make hanging perfectly level incredibly easy. Finally, always use wall anchors appropriate for your wall type. Drywall anchors for drywall, masonry anchors for brick or concrete. Never rely on just a nail in drywall for anything but the lightest of frames. Taking the extra minute to install the correct anchor can save you from a shattered frame and damaged wall.
Frequently Asked Questions
Q: My miter joints still aren’t perfect, even after calibration. What else can I do?
A: Even with a calibrated saw, subtle inconsistencies can occur. After cutting, dry-fit your four frame pieces. If you notice a tiny gap, you can use a small block plane or sanding block with fine-grit sandpaper (220+) to gently shave or sand down the high spots on the mitered edges until they meet perfectly. This micro-adjustment technique is a common practice among professional framers for achieving truly seamless corners.
Q: How do I prevent paint from bleeding under my painter’s tape when creating multiple colors or a clean edge?
A: This is a classic frustration. The secret is to seal the tape edge. After applying your painter’s tape, paint a very thin layer of the base color (or a clear sealant like Mod Podge if you want no color) along the edge of the tape that will be exposed to the new paint. This clear layer seeps into any tiny gaps under the tape, dries, and effectively seals it. Once dry, apply your new color. When you peel the tape, you’ll have a perfectly crisp line.
Q: What’s the best way to clean and protect the glass in my frame without leaving streaks?
A: For streak-free glass, avoid harsh chemical cleaners. Mix a solution of 50% distilled water and 50% white vinegar in a spray bottle. Spray lightly onto a clean microfiber cloth (not directly onto the glass, to prevent seepage into the frame) and wipe the glass. Finish by buffing with a second, dry, clean microfiber cloth. Using distilled water prevents mineral deposits that cause streaks, and microfiber is superior to paper towels which can leave lint.
Q: How do I ensure the artwork stays perfectly centered and doesn’t shift inside the frame?
A: Once your matting and artwork are in place against the glass, secure them to the backing board (usually acid-free foam core) using artist’s tape or archival linen tape, forming a ‘hinge’ at the top edge of the artwork. Then, secure the entire assembly (glass, mat, artwork, backing) into the frame using framing points or flexible tabs pushed into the rabbet of the frame. These small metal pieces hold everything snugly, preventing shifting.
Q: My DIY frame looks great, but feels a bit lightweight. How can I give it a more substantial feel?
A: The perception of quality often correlates with weight and density. If your frame feels too light, consider adding weights to the backing or using a denser backing material. For example, instead of standard foam core, use a thicker, high-density MDF or plywood for the backing. You can also discreetly add small, flat lead weights (available at craft or fishing stores) to the inside of the frame’s rabbet before installing the backing, securing them with strong adhesive. This adds heft without altering the appearance.
Building a truly professional-looking picture frame isn’t about magic; it’s about meticulous attention to detail and respecting the nuances of woodworking and finishing. The frustration I experienced in my early DIY attempts dissolved once I understood these core principles. By focusing on precision in your cuts, thoroughness in your wood prep, strength in your joinery, and careful consideration of your hanging hardware, you can elevate your frames from amateur projects to pieces you’re truly proud to display. Start small, practice these techniques, and you’ll find your DIY frames looking every bit as good as those from a custom shop.


